


Complete Skid Steer Auger Guide
Posted by Mackenzi Griffin on 29th Mar 2024
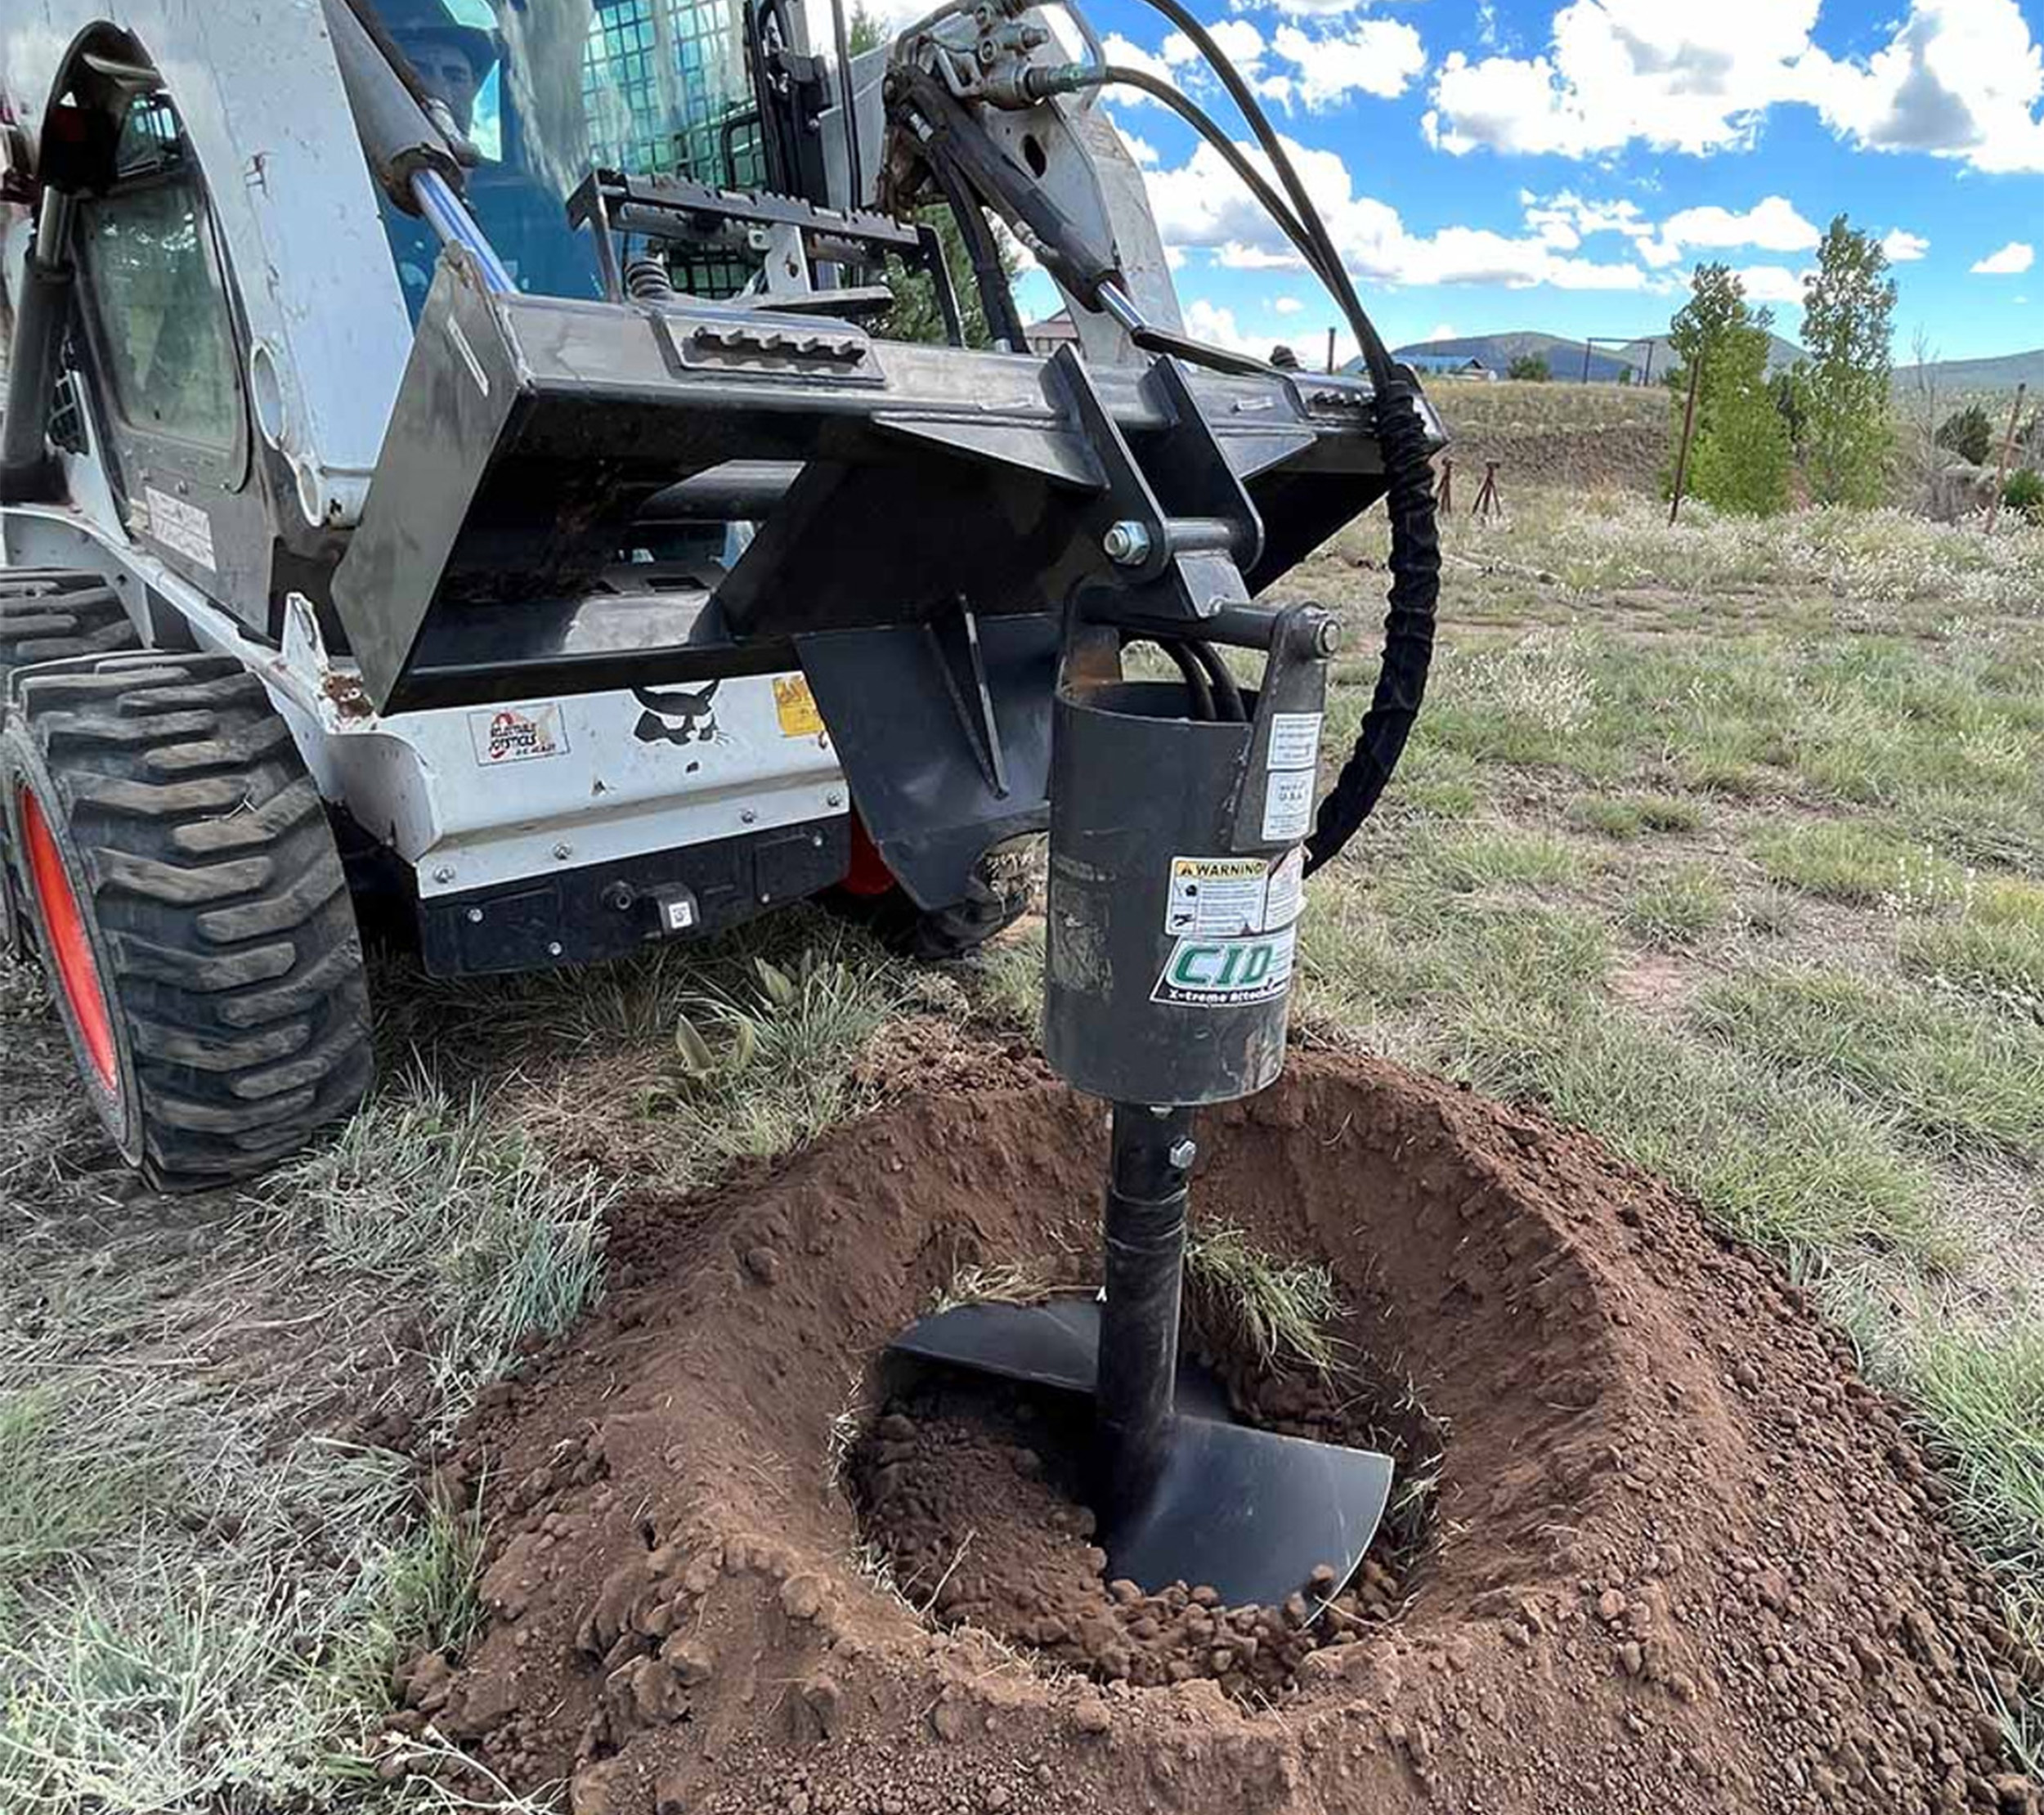
Auger Drives
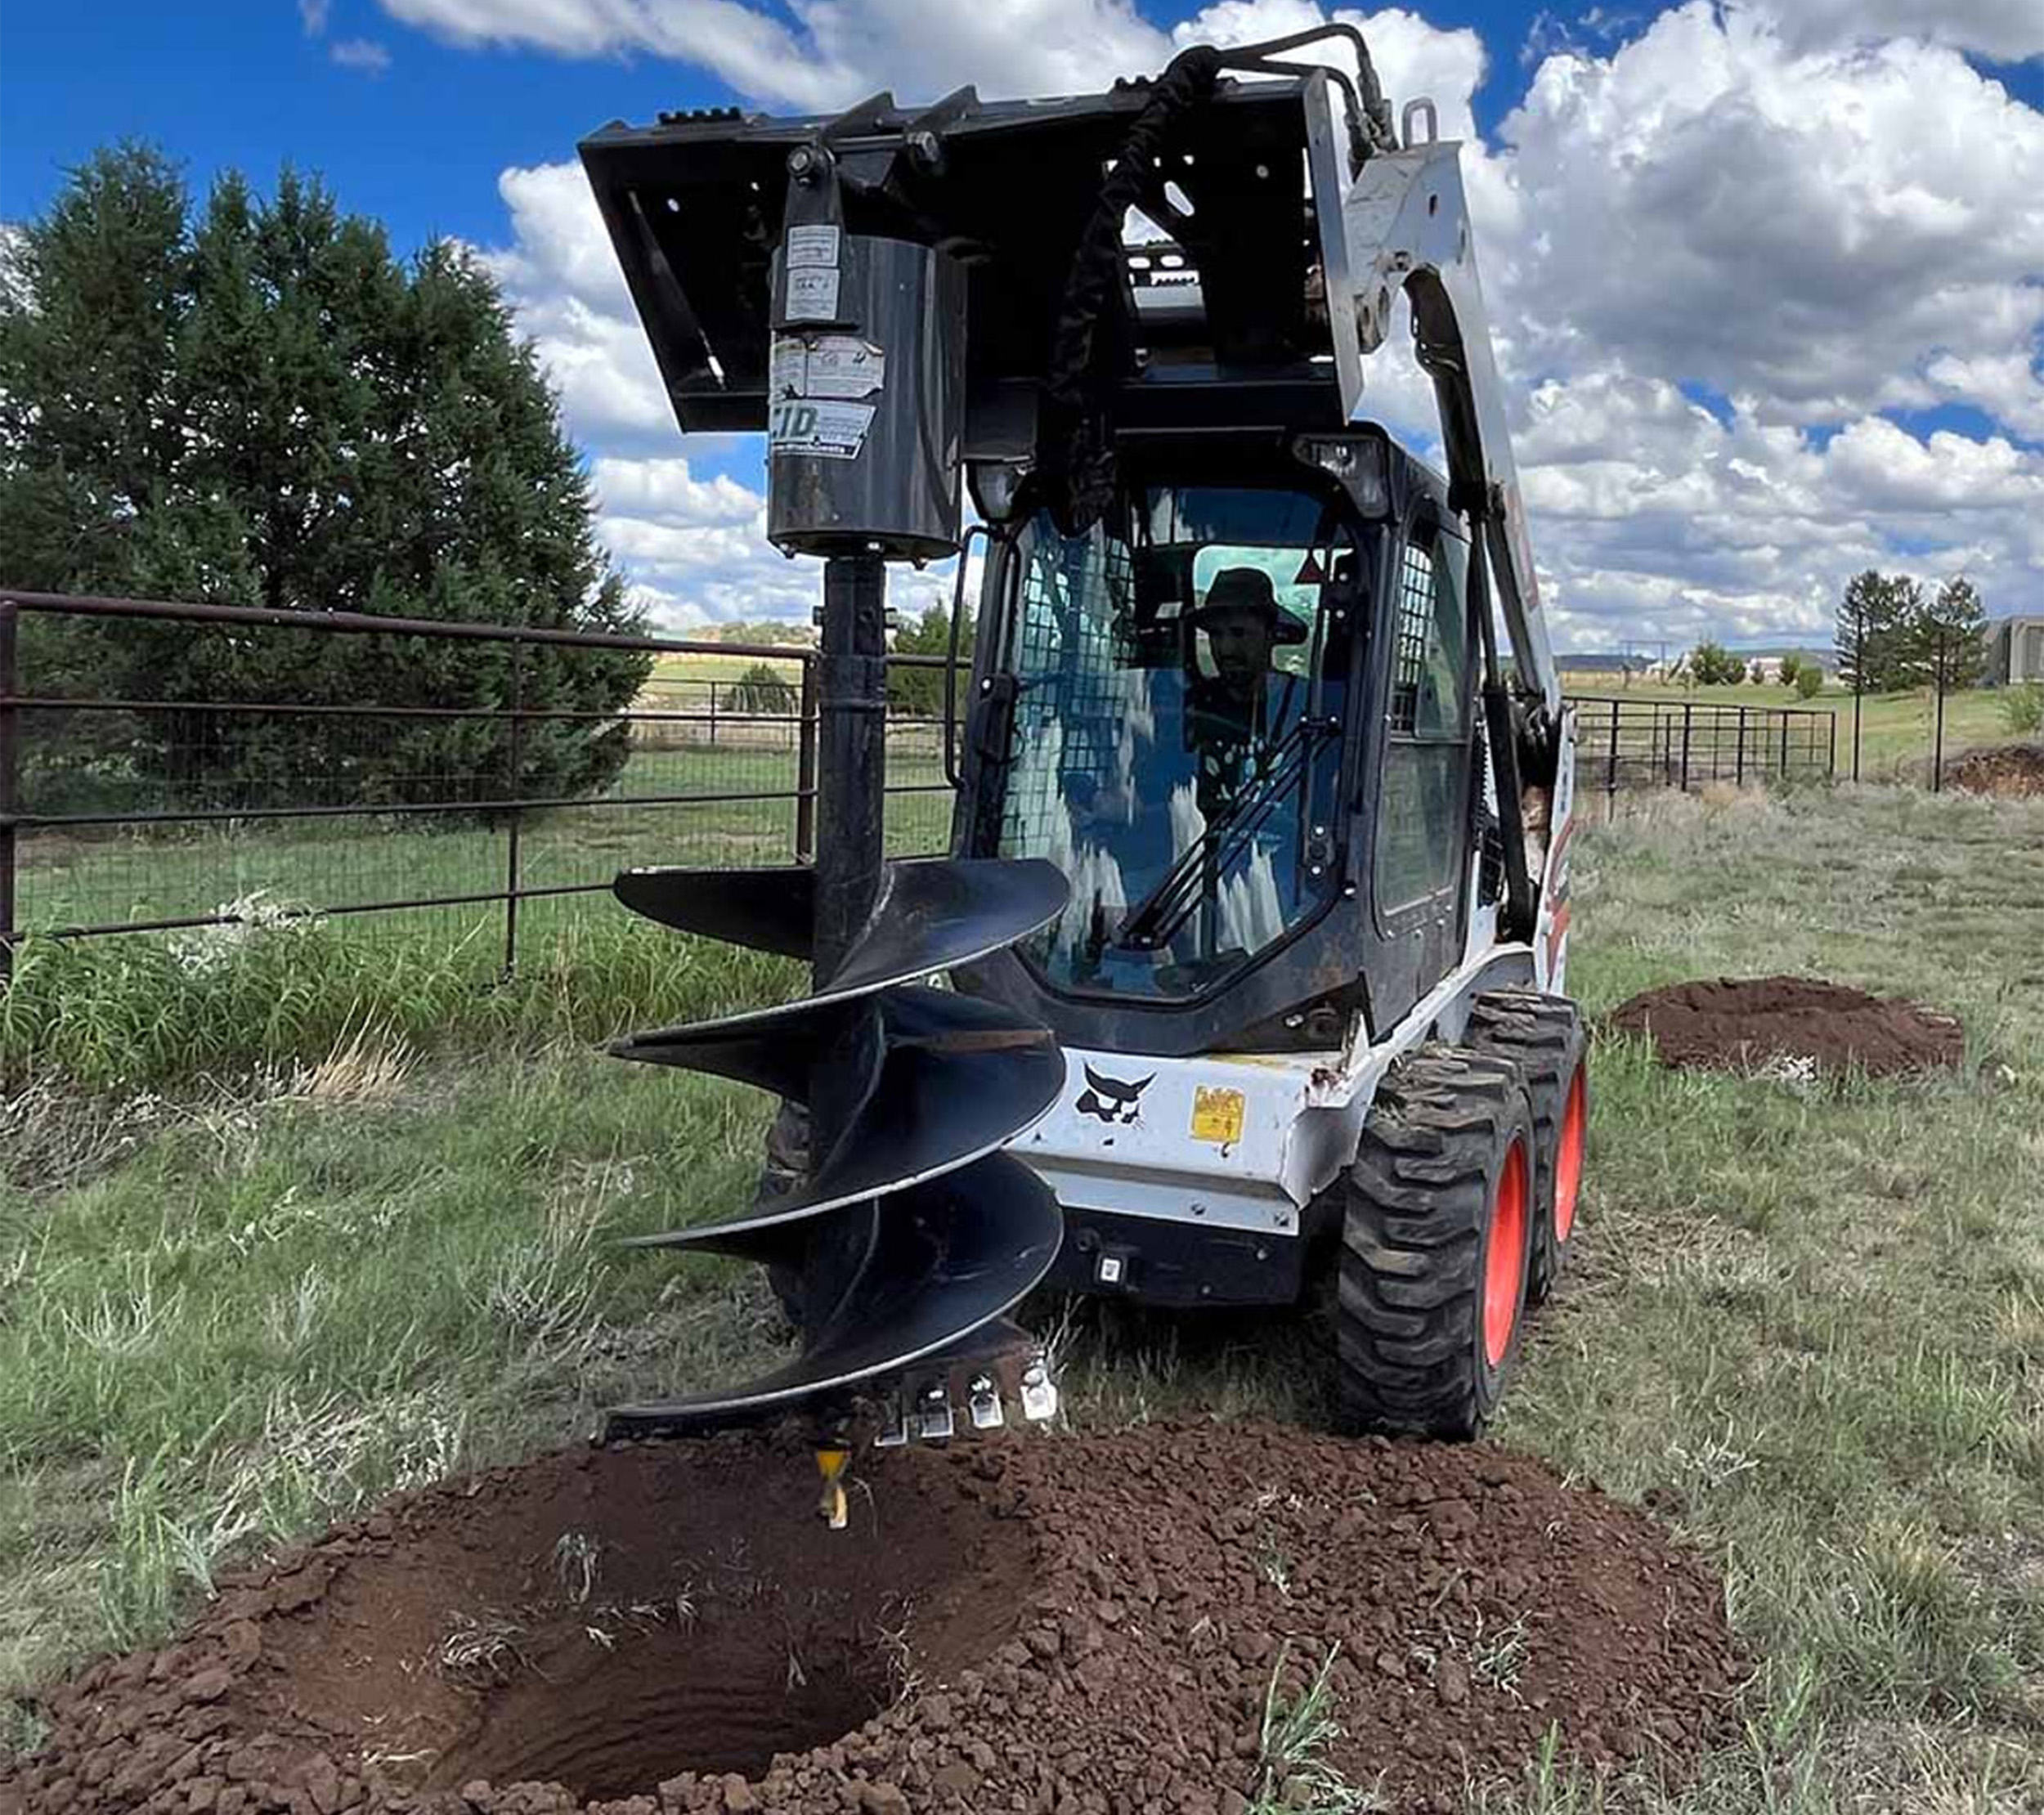
A skid steer auger drive is the most versatile and powerful attachment money can buy. Augers are designed to drill into the ground for different purposes, like installing fences, landscaping, tree planting, and construction projects. They leverage the hydraulic power of your skid steer to turn and drill holes into the ground. The "drive" is the component that transfers the hydraulic power from the skid steer to the auger bit, enabling it to spin and penetrate the ground.
Using the hydraulic system to operate means it can be adjusted for speed and torque depending on your skid steer and the job you need it for. Let’s drill down into Augers--we will cover everything you need to know about what makes an auger work and how to choose the right attachment for your needs.
Key Components of an Auger Drive:
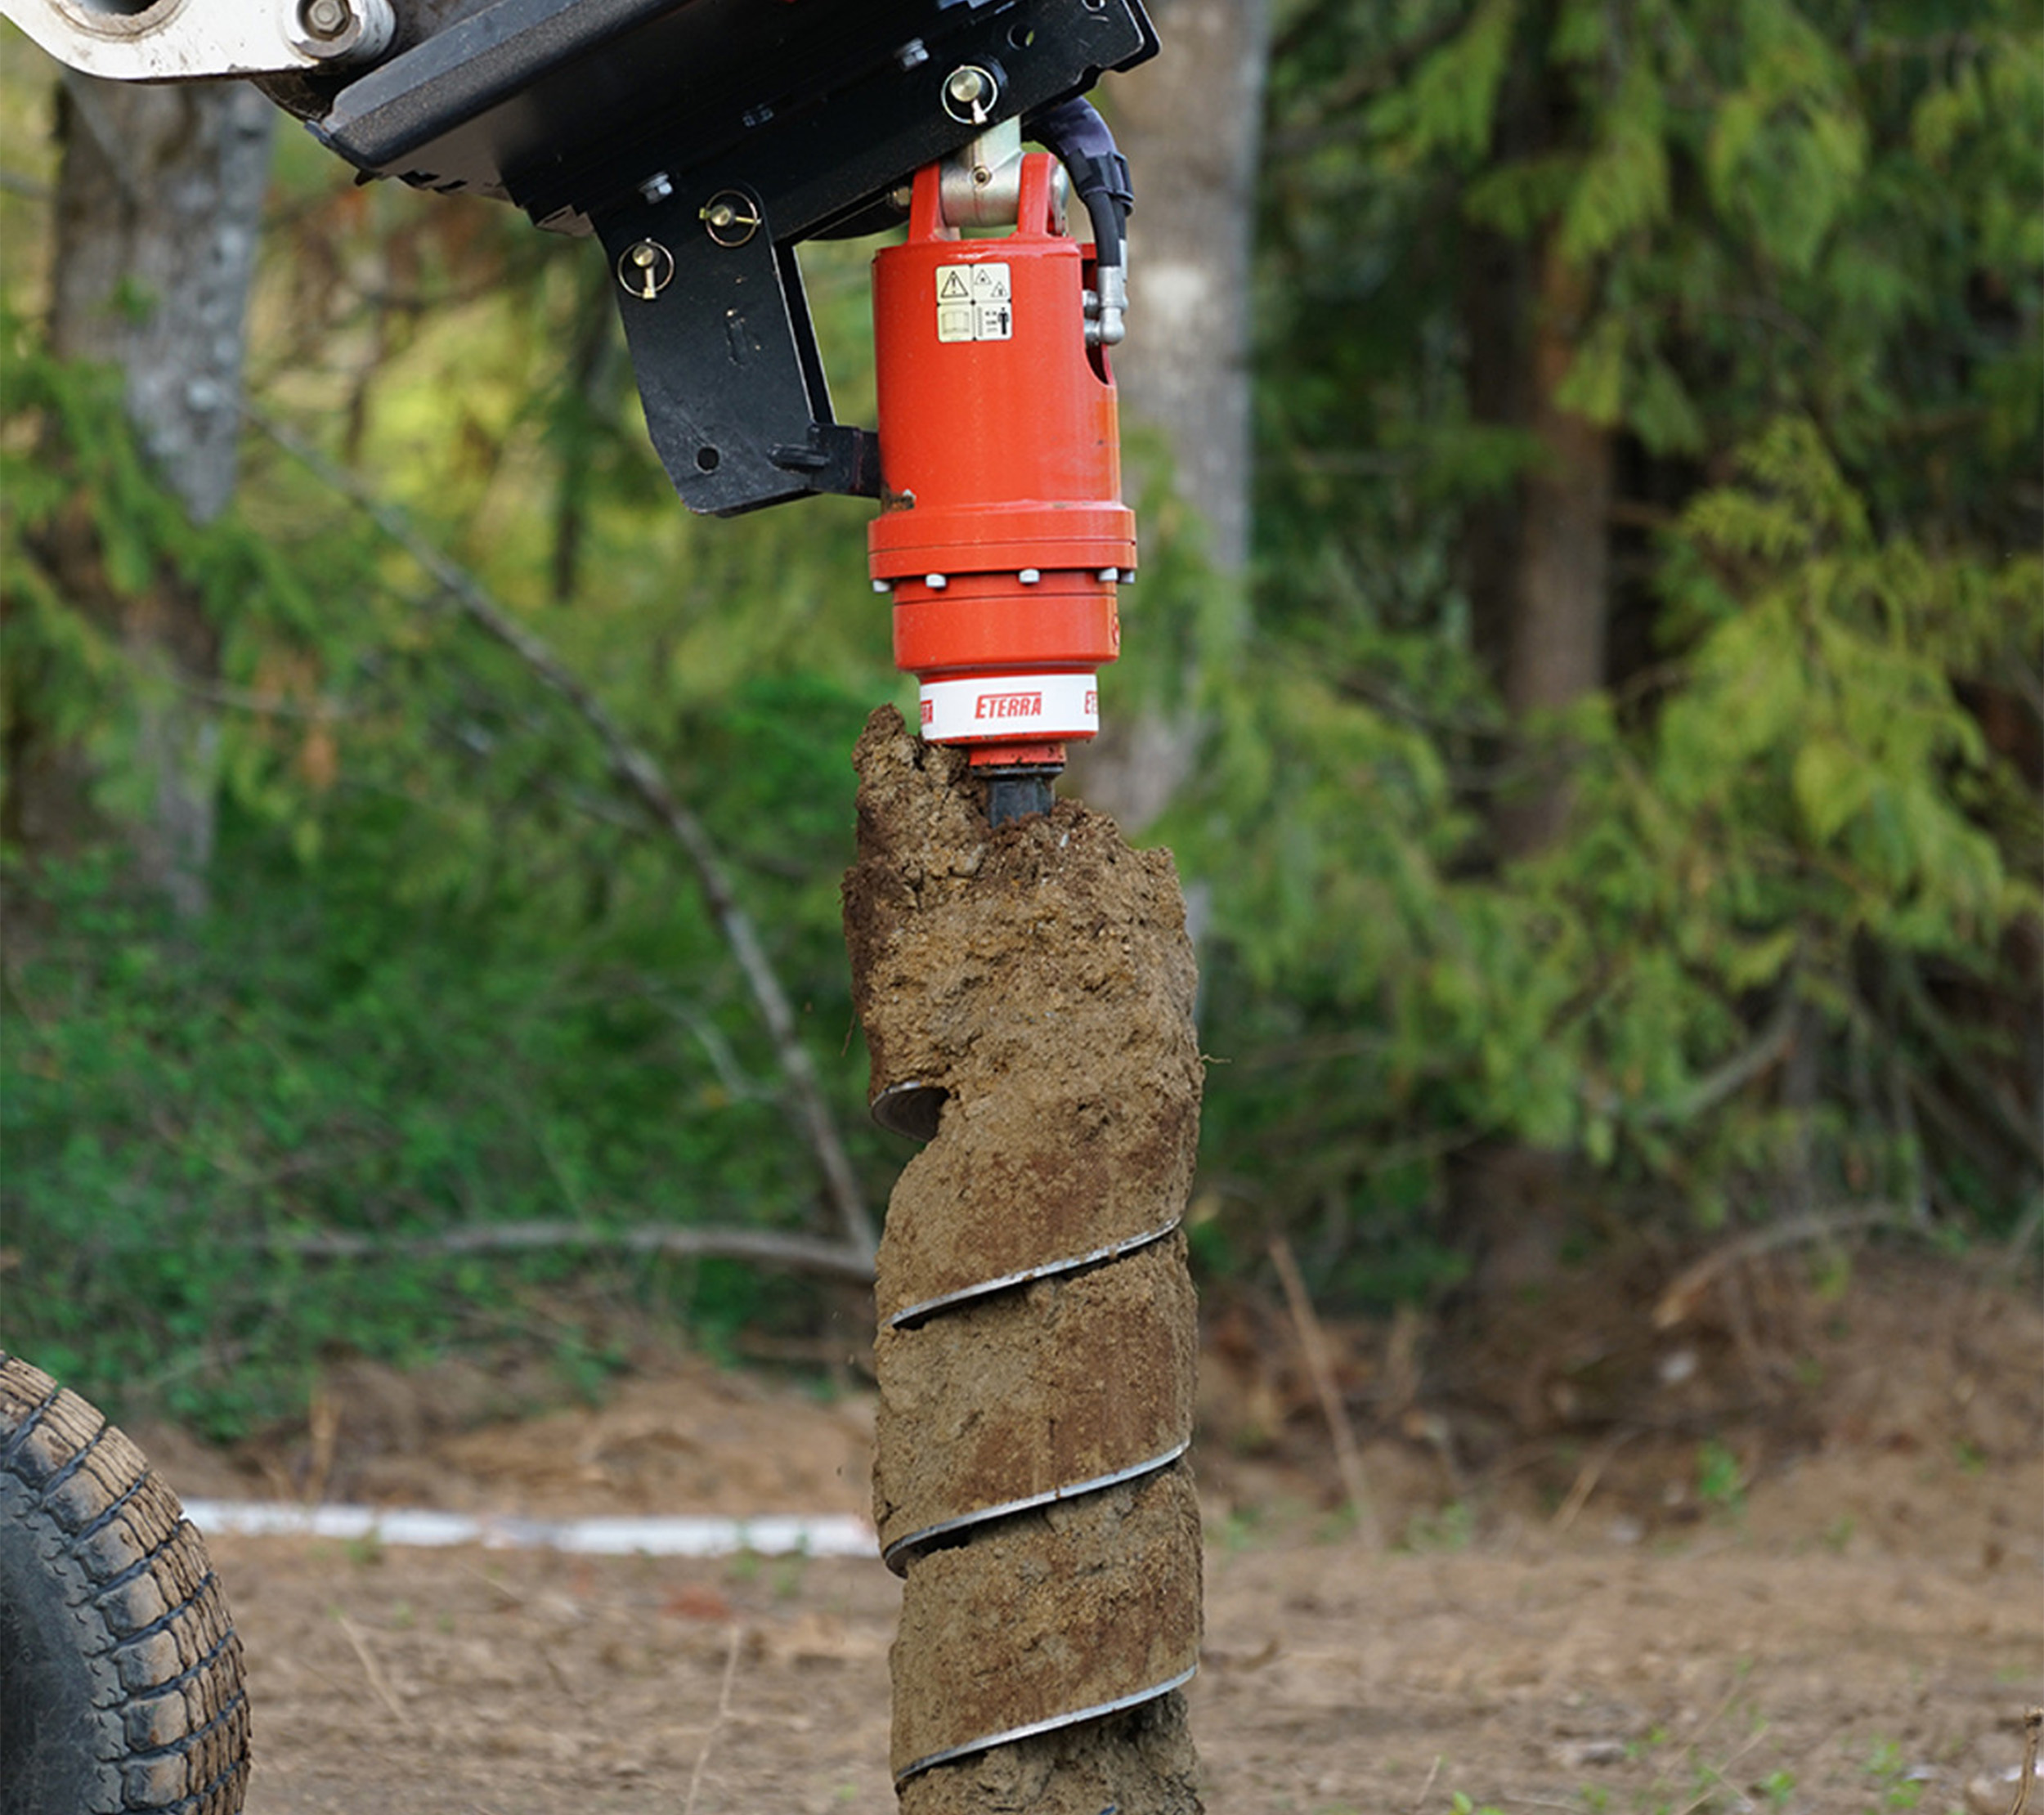
1. Hydraulic Motor: Powers the auger bit, converting hydraulic flow and pressure into rotational force.
2. Planetary Gearbox: Often used to increase torque, providing the necessary power to drill through various soil types or even through ice and rock, depending on the bit used.
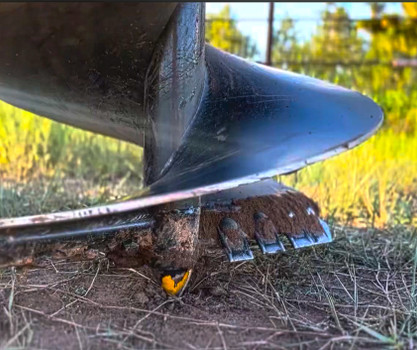
3. Auger Bit: The drilling component that penetrates the ground. Bits come in various sizes and styles to suit different ground conditions and hole sizes.
4. Mounting System: Allows the auger drive to be attached to and operated by the skid steer. This system includes a frame and hydraulic couplers for connecting the hydraulic hoses from the skid steer to the auger drive.
A critical factor in choosing an auger drive will be the hydraulic flow rate and torque rating of your machine. You may not know what your torque and flow range requirements are until you know what kind of jobs you’ll be using your auger for.
For light-duty drilling in soft soils, an auger drive with a higher GPM and moderate torque might work, since you get faster drilling speeds and won’t need to rely on torque to break up the ground. For heavy-duty drilling through rock or hard, compacted soils, choose an auger drive with higher torque to ensure it has enough power to break through these materials, even if it means sacrificing some speed.
The relationship between Gallons Per Minute (GPM) and torque in an auger drive is another crucial factor in determining the performance and suitability of an auger for specific drilling jobs. Understanding how GPM and torque interact can help you select the right auger drive for your skid steer and your project's requirements. Here's a breakdown of what GPM and torque mean for you in an auger drive:
Gallons Per Minute (GPM)
GPM measures the flow rate of hydraulic fluid that a skid steer can supply to an attachment, in this case, an auger drive. It's a measure of the volume of fluid moved per minute.
Impact on Performance: Higher GPM ratings generally mean that more hydraulic fluid is flowing to the auger drive, which can increase the auger's rotation speed.
To calculate the hydraulic flow range of your skid steer, you need to consider several factors, including the hydraulic couplers, flow rate, and the attachment's specific requirements. For attachments with hydraulic functions, the size and type of hydraulic couplers must be compatible between the host machine and the attachment. The auxiliary hydraulic flow rate of the skid steer must fall within the attachment's required flow rates range.
A standard flow auger drive attachment might have a flow range requirement from as low as 10-20 GPM, that will fit on most standard flow skid steers. However, high-flow augers, designed for more heavy-duty drilling, may need a flow rate upwards of 20-40 GPM, which only a high-flow skid steer can provide.
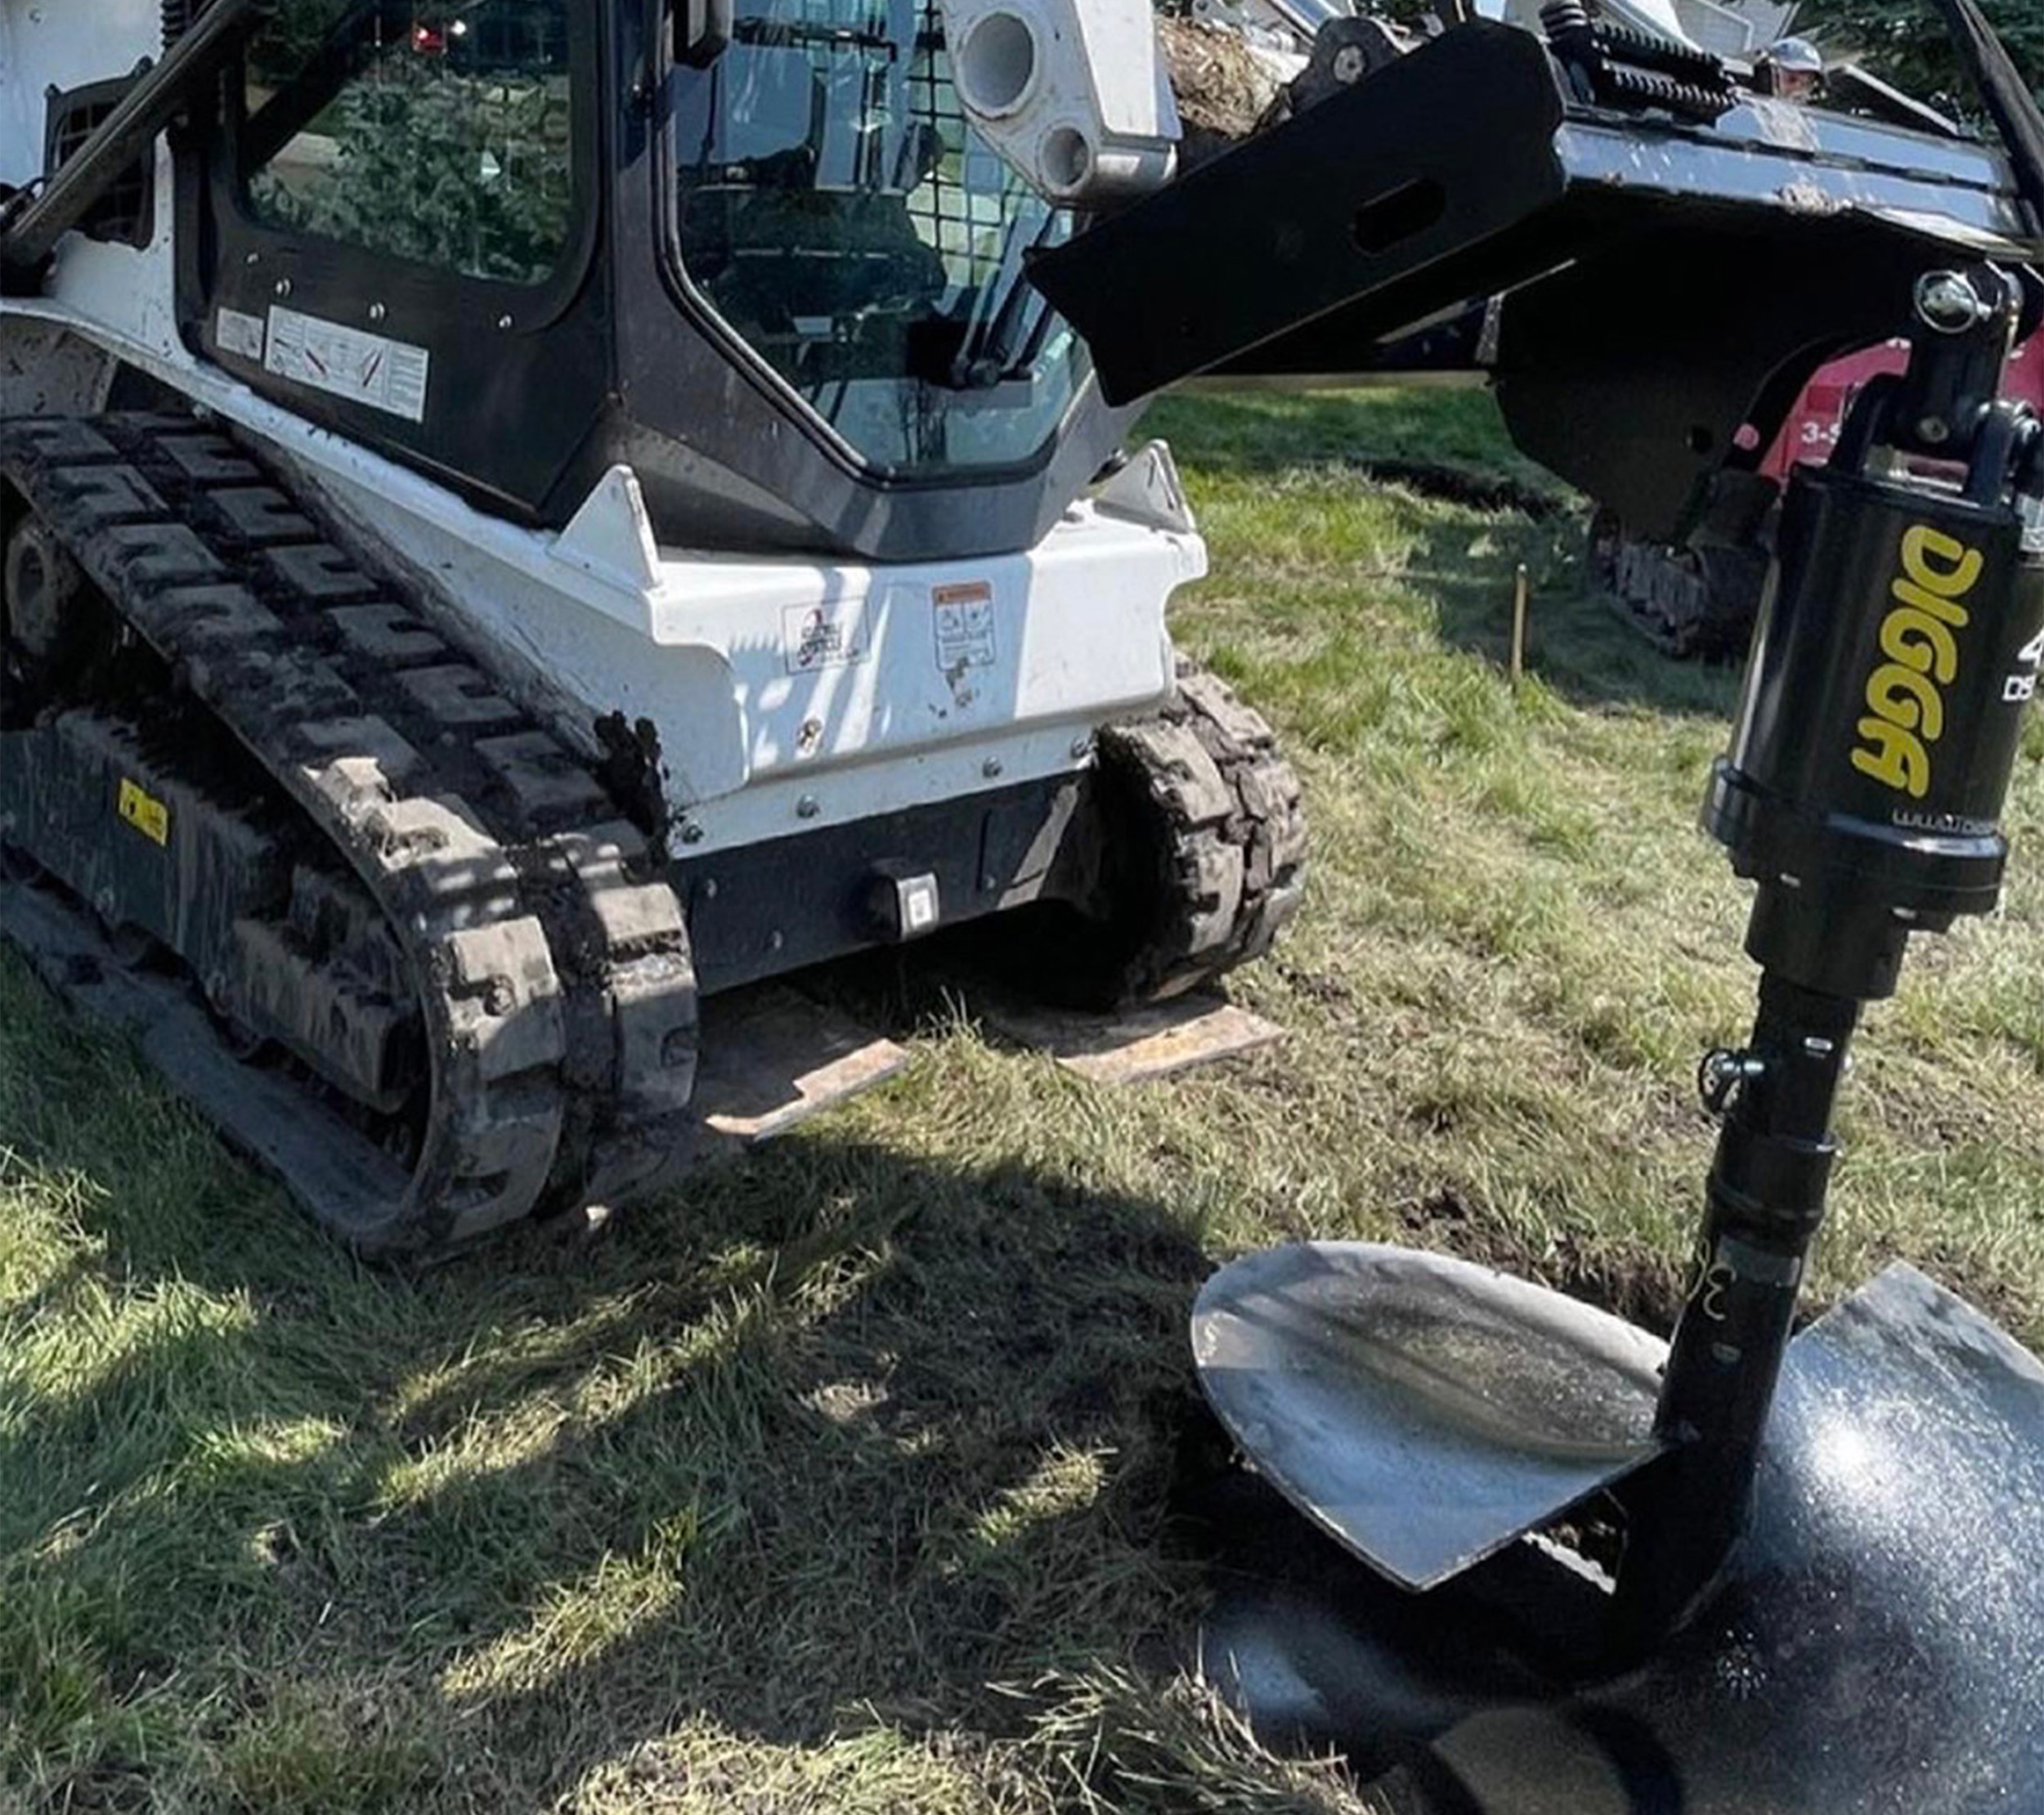
Hub Style
It's also important to consider the auger bit's connection to the drive unit, whether hex or round, and ensure it matches your auger drive. Also, understanding the ground conditions and the desired hole diameter will help you find the right auger bit for the job.
To ensure you choose the right auger attachment for your skid steer:
1. Check your skid steer’s hydraulic flow rate (GPM) against the auger drive’s flow requirement. 2. Determine the type of auger bit connection (hex or round) you need based on your auger drive.
3. Consider the ground conditions (e.g., soft soil, clay, rocky) and the diameter of the holes you need to drill, since this will determine the type and size of the auger bit.
4. Always refer to the skid steer and auger attachment manufacturer’s specifications to confirm compatibility and to get the most out of your equipment.
Torque
In this case, torque is a measure of the twisting force the auger drive applies to the bit. It's what allows the auger to penetrate and break through soil or rock. Torque is measured in foot-pounds (ft-lb) or Newton-meters (Nm).
Impact on Performance: Higher torque values mean more drilling power. An auger drive with high torque can handle tougher ground conditions, such as heavy clay, frozen ground, or rock. Torque is influenced by the hydraulic pressure and the design of the auger drive, including its hydraulic motor and gearbox.
Measuring the torque required for a skid steer auger attachment involves considering the conditions of the job and the capabilities of both your skid steer and the auger attachment itself. While specific torque values are typically provided by the manufacturer, understanding your needs can help ensure you select the right attachment. Here's a general approach to determining torque requirements:
1. Understand Torque Requirements Based on Soil Conditions
Soft Soils (e.g., sand, loam): Require less torque.
Medium Soils (e.g., clay, gravel): Require moderate torque.
Hard or Rocky Soils: Require the heavy torque.
2. Consider the Diameter of the Auger Bit
Larger diameter bits require more torque to turn, especially in tougher soil conditions.
GPM vs. Torque: What It Means for You
An optimal balance between GPM (speed) and torque (power) is essential for efficient drilling. High GPM with insufficient torque may result in fast rotation that lacks the force to drill into tough ground, leading to inefficient drilling and potential stall. On the other hand, high torque with low GPM can break into tough material but drilling will be slower.
3. Review Manufacturer's Specifications
Most manufacturers provide torque ratings for auger drives, which helps you match the attachment to your skid steer’s hydraulic capabilities and the job requirements. These ratings are usually in foot-pounds (ft-lbs) and should be matched or exceeded by what your skid steer can deliver for efficient operation.
Compatibility with Your Skid Steer: Ensure that the auger drive is compatible with your skid steer's hydraulic system. The skid steer must be able to provide the necessary GPM and operate within the pressure range required for the desired torque.
So now that you have important basics down let’s talk about what an auger can really do. You can realistically use an auger for all kinds of things from business to recreation and other things in between.
Fencing and Post Hole Digging
Building fences is probably one of the most common jobs for an auger attachment. It makes the project faster and gives you uniform holes for your posts. Here is a short step by step guide for how to build a fence with an auger drive.
1. Planning and Preparation
Mark the Fence Line: Use string lines and stakes to mark where your fence will be. This helps keep your fence straight and that posts are evenly spaced.
Check for Utilities: Always check for underground utilities before digging. In many places, you can dial a specific number (like 811 in the United States) to have utility lines marked for free.
Choose the Right Auger Bit: Pick an auger bit2-3 inches wider than your post diameter to allow for gravel or concrete backfill.
2. Drilling Post Holes
Position the skid steer so the auger bit is directly over the first marking for a fence post.
Lower the auger bit to the ground and start the skid steer's hydraulic flow to begin drilling. Apply downward pressure as needed, but let the auger do most of the work without forcing it.
Drill to the desired depth, which typically depends on the fence height and local building codes. A good rule of thumb is to dig one-third the length of the post into the ground (e.g., a 6-foot post would go 2 feet deep).
Once the hole is at the desired depth, slowly reverse the auger out of the hole. Be cautious to prevent soil from falling back into the hole as you remove the auger.
3. Installing Fence Posts
Place the fence post in the hole. Use a level to make sure it's straight.
Depending on the requirements, fill the hole with gravel for drainage and then add concrete to secure the post. You can backfill with soil, but this may not provide as much stability.
Be sure the post remains level as the concrete sets. Follow concrete package instructions for drying and setting times.
4. Repeat for Additional Posts
Move on to the next marked location and repeat the drilling and post installation process until all posts are in place.
5. Finalizing the Fence
Once all posts are installed and secure, you can add rails, panels, or chain-link, depending on the type of fence you're building.
Safety and Efficiency Tips
Operate Safely: Always follow the skid steer and auger manufacturer’s safety guidelines. Wear appropriate personal protective equipment (PPE), including hearing and eye protection.
Efficiency: To streamline the process, consider having a team where one person operates the skid steer, and others place and secure the posts.
Dealing with Obstacles: If you hit a large rock or root, you may need to pull it manually or reposition the fence post slightly to miss it.
Landscaping and Tree Planting
Landscapers frequently rely on auger attachments to plant trees. With an auger it’s easy to drill holes of various sizes, for efficient planting and landscaping projects. The versatility of working in different soil types, from soft soil to more compact ground, makes it a valuable attachment for creating visually appealing and healthy green spaces.
Here are some steps for how to use an auger for any landscaping project:
1. Pick the Right Auger Bit
For Tree Planting: Choose a bit slightly larger than the root ball of the trees you’re planting. This extra space allows room for growth and corrections if needed.
2. Plan Your Landscape or Tree Planting
Mark the Locations: Use flags or spray paint to mark where each tree or plant will go. Consider the mature size of the plants to ensure they have enough space to grow without overcrowding.
Check Utilities: Always check for underground utilities before you start drilling so you don’t cause any damage to them.
3. Drilling Holes for Planting
Position the Auger: Line up the auger with your first marking. For trees, ensure you're drilling at a depth that accommodates the root ball plus some extra depth for drainage if needed.
Start Drilling: Lower the auger bit to the ground and start the skid steer's hydraulic flow to begin drilling. Apply steady pressure, but let the auger do the work to avoid stalling or damaging the equipment.
Remove the Auger: Once the hole is at the right depth, carefully pull out the auger, try not to touch the sides of the hole too much.
4. Planting
Adjust the hole's depth or width manually if necessary to make sure it is the right size for the tree.
Prepare the Plant: For trees, ensure the root ball is moist and loosen any circling roots.
Planting: Place the tree in the center of the hole. The top of the root ball should be level with or slightly above the surrounding soil level to allow for settling and to prevent water pooling around the stem or trunk.
Backfill: Mix the excavated soil with compost or planting mix if you want and backfill around the tree. Firm the soil to remove air pockets but try not to over-compact.
Water: Thoroughly water the newly planted tree or landscaping plant to settle the soil and provide necessary moisture for root establishment.
5. Mulching and Aftercare
Apply a layer of mulch around the base of the plant or tree to conserve moisture, regulate soil temperature, and reduce weed competition. Keep mulch a few inches away from the plant stem or tree trunk to prevent rot.
Follow up with appropriate aftercare, including regular watering, especially during the first growing season, to ensure your plants or trees establish well.
Construction and Foundation Work
In construction, the auger skid steer attachment can help lay the groundwork for stable foundations. This application is crucial for both residential and commercial construction projects.
Here’s how to leverage this attachment on the construction site, especially for foundation-related jobs:
1. Preparing the Holes for Concrete
After drilling, remove the auger and clear any loose soil from the top of the hole. You may need to use a post hole digger or shovel to clean out the bottom.
For piers or footings, insert a sonotube or form into the hole if needed, this will keep it level and at the correct height above ground.
Insert rebar or mesh into the hole if your foundation needs reinforced concrete.
2. Pouring Concrete
Pour concrete into the holes, using a trowel or shovel to spread it evenly and remove air pockets. Fill to the top of the form or as your design specifies.
Level the top of the concrete, ensuring it provides a stable base for the structure. Install anchor bolts or post bases into the wet concrete if needed for your foundation design.
3. Finalizing and Curing
Allow the concrete to cure for the time specified by on the bag, usually at least 24-48 hours for initial set, with full strength reached in 28 days.
After the concrete has set, you can remove any forms and proceed with the rest of your construction project.
The Auger is a multifaceted attachment that you can use for a wide array of industries and jobs. Whether it's for construction, landscaping, utility installations, or environmental studies, the skid steer auger and its various auger attachments offer a solution that saves time, labor, and costs, while giving you precision and reliability.
Still have questions? Give our sales team a call: 866.966.2538
We have barely broken through the surface, learn all about skid steer auger bits in our Complete Guide to Auger Bits.